Enable SSO using Active Directory
Prerequisites
- Active Directory Federation Services (ADFS)
- Penfield App is deployed in Kubernetes cluster
- An AD security group (e.g.
penfield-users) created in advance, containing the users who should be granted access to the Penfield application. This group will be bound to the SSO Application Group's Access Control Policy.
Configure ADFS for SSO
Create a new Application Group on ADFS for SSO
-
On your AD Server, Go to the AD FS Management System.
-
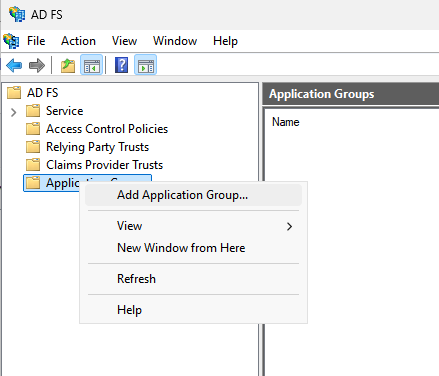
In the left navigation pane, click Application Groups.
-
Right click on Application Groups and click Add Application Group.
-
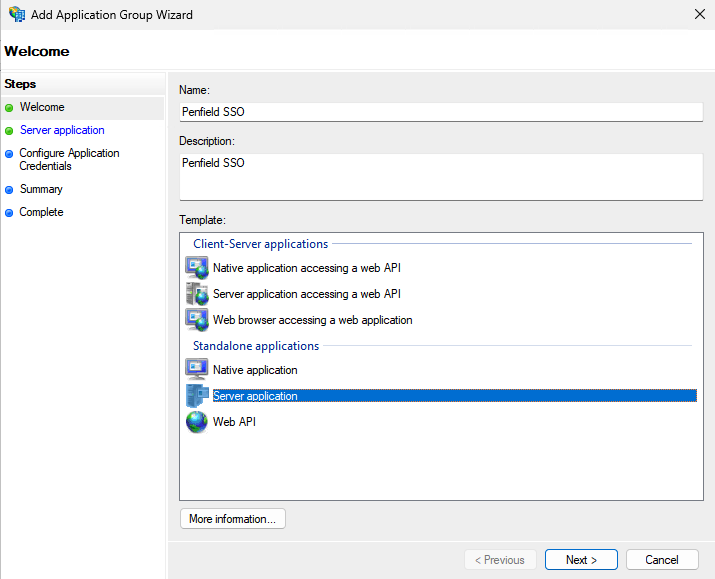
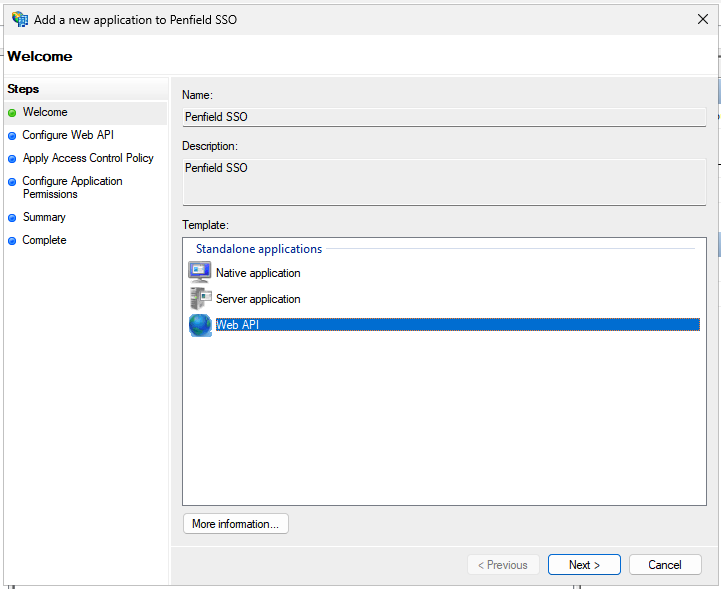
In the Add Application Group Wizard dialog, enter the following details:
- For the name use Penfield SSO or anything else that follows your standard naming convention.
- Description: Penfield SSO (Optional)
- Select Server Application under the Standalone applications and click Next.
-
Copy the Client Identifier value, you will need this value later on. Make sure to use your FQDN for the redirect URI.
- Add Redirect URI
https://<Replace-with-your-FQDN>/public/self-service/methods/oidc/callback/genericand click Next.

- Add Redirect URI
-
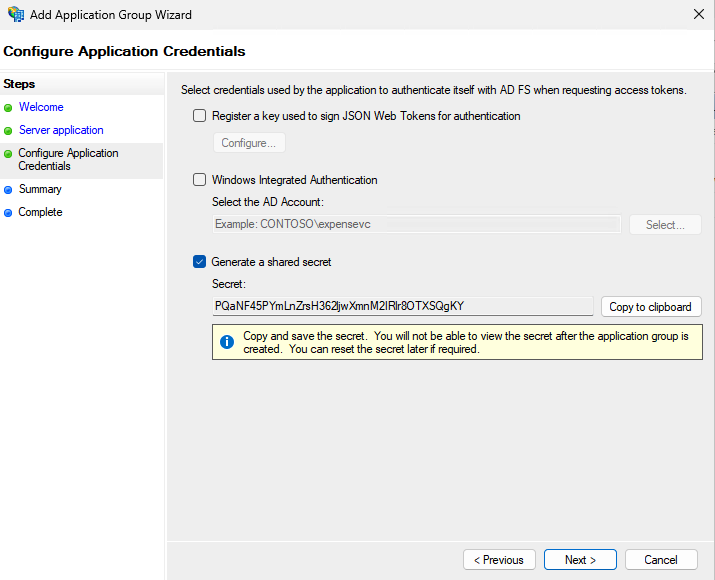
Choose Generate a shared secret and copy the secret and click Next.
-
Click Next and click Close to close the Add Application Group Wizard dialog.
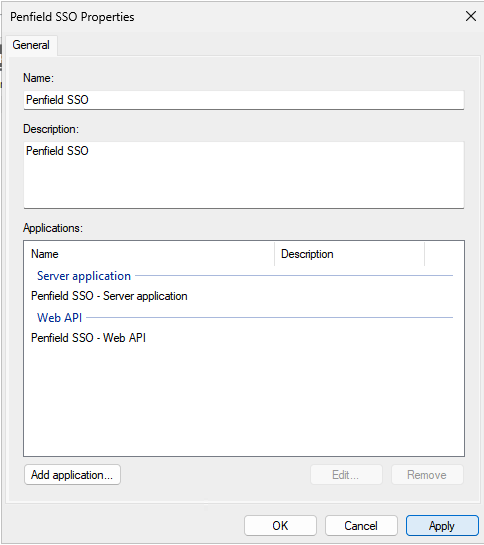
noteThe following steps are required to restrict sign-in to a specific AD security group. Without them, any user in your Active Directory will be able to sign in to Penfield.
-
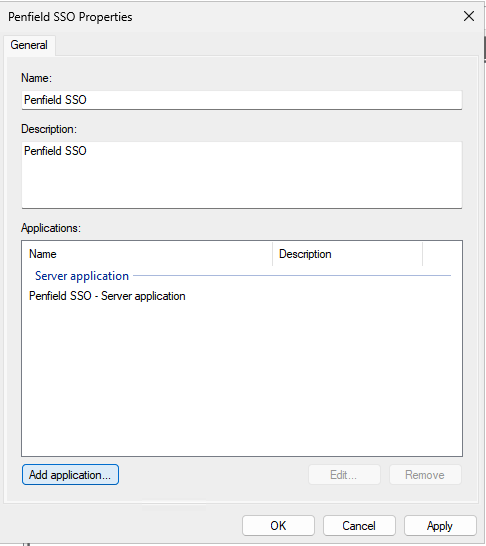
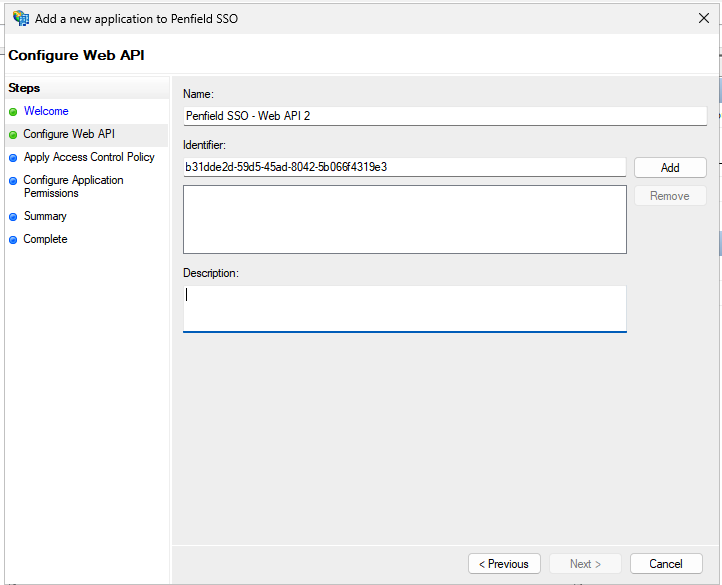
Back in the Application Group, click Add application... and select Web API. Click Next.
-
For the Identifier field, use the Client Identifier from the previous Server Application setup (or any other name that makes sense), this must be unique. Click Add, then Next.
-
On the Choose Access Control Policy page, select Permit specific group and pick the AD security group from the prerequisites (e.g.
penfield-users). Click Next.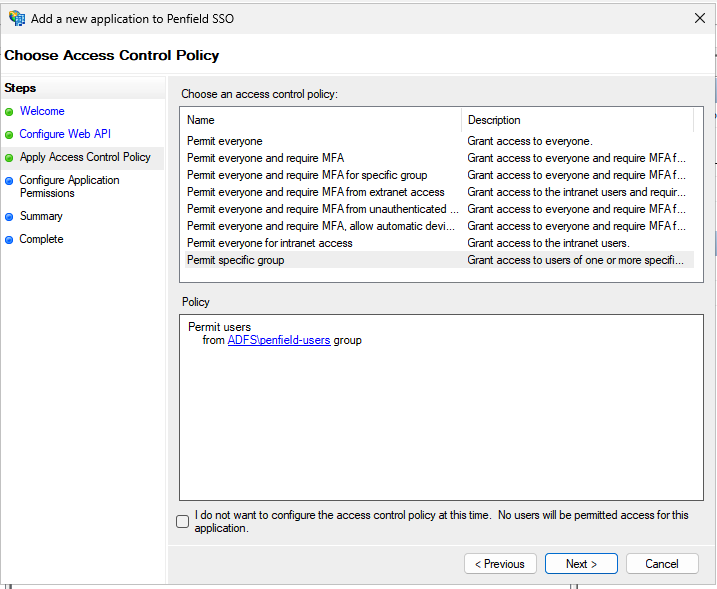
-
On the Configure Application Permissions page, select the scopes
email,openidandprofile. Click Next, review the summary, and click Next again.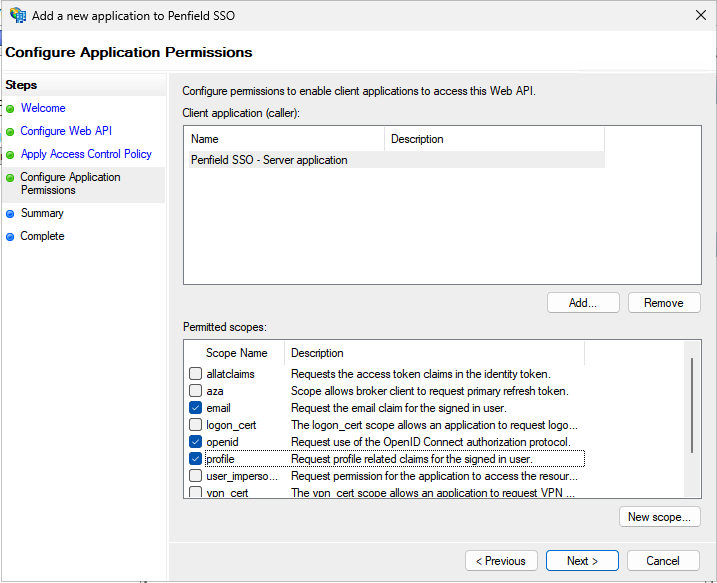
-
Click Apply, then OK.
Only members of the specific AD security group will be able to sign in to Penfield. To grant or revoke access for a user, simply add them to or remove them from the group.
Configure Penfield app
Update Penfield app configuration (Configure on the Kubernetes)
-
Make sure you have these values:
- CLIENT_ID (client identifier)
- CLIENT_SECRET (shared secret)
- ADFS server URL (e.g. https://adfs.penfield.ai/adfs)
-
Make sure you set the kubectl context to the right cluster. You can check the current context with
kubectl config current-contextand set the context withkubectl config use-context <context-name> -
Update the helm chart values.yaml file, Find the following block in kratos section and make sure the values are correct as below:
enable SSO# Enable OIDC only if you use SSO
oidc:
enabled: trueenable SSO## Enable below config if you enable SSO
deployment:
extraEnv:
- name: SELFSERVICE_METHODS_OIDC_CONFIG_PROVIDERS
valueFrom:
secretKeyRef:
name: penfield-secrets
key: oidcConfig -
Update the
penfield-secrets:You can either update
penfield-secretsusing ArgoCD or kubectl directly patch the secret, depending on how you have initially deployed it.-
Update using ArgoCD: Add the below values to the existing
penfield-secretssecret, You may need to encrypt the secret before updating if you are using secret manager. Do not forget to replace the client_id, client_secret and issuer_url with the ones from the previous step.update penfield-secretsdata:
oidcConfig: [{"id": "generic","provider": "generic","label": "AD SSO","client_id": "<update_client_id_value>","client_secret": "<update_client_secret_value>","issuer_url": "<ADFS server URL>","mapper_url": "base64://bG9jYWwgY2xhaW1zID0gc3RkLmV4dFZhcignY2xhaW1zJyk7CnsKICBpZGVudGl0eTogewogICAgdHJhaXRzOiB7CiAgICAgIGVtYWlsOiBjbGFpbXMucmF3X2NsYWltcy51cG4sCiAgICB9LAogICAgbWV0YWRhdGFfcHVibGljOiB7CiAgICAgIGNsYWltczogY2xhaW1zLnJhd19jbGFpbXMsCiAgICB9LAogIH0sCn0=","scope": ["openid","email","profile"]}] -
Update using kubectl:
update penfield-secrets# Set your environment variables, use the values from the previous step
export CLIENT_ID="replace-with-your-client-id"
export CLIENT_SECRET="replace-with-your-client-secret"
export ADFS_SERVER_URL="replace-with-your-adfs-server-url"
# Patch the secret, run this command in your terminal
kubectl patch secret penfield-secrets -n penfield-app -p='{"stringData":{"oidcConfig": "[{\"id\": \"generic\",\"provider\": \"generic\",\"label\": \"AD SSO\",\"client_id\": \"'"$CLIENT_ID"'\",\"client_secret\": \"'"$CLIENT_SECRET"'\",\"issuer_url\": \"'"$ADFS_SERVER_URL"'\",\"mapper_url\": \"base64://bG9jYWwgY2xhaW1zID0gc3RkLmV4dFZhcignY2xhaW1zJyk7CnsKICBpZGVudGl0eTogewogICAgdHJhaXRzOiB7CiAgICAgIGVtYWlsOiBjbGFpbXMucmF3X2NsYWltcy51cG4sCiAgICB9LAogICAgbWV0YWRhdGFfcHVibGljOiB7CiAgICAgIGNsYWltczogY2xhaW1zLnJhd19jbGFpbXMsCiAgICB9LAogIH0sCn0=\",\"scope\": [\"openid\",\"email\",\"profile\"]}]"}}'
-
-
Update the deployment:
If you are using ArgoCD, you can update the deployment by merging the changes to your version control.
If you are using helm, you can update the deployment by running the following command:
helm upgrade \
   --install penfield-app penfieldai/penfieldai \
   --namespace penfield-app \
   --values penfield-values.yaml